
Set Up Your AI Answering Service in 30 Minutes
Introduction
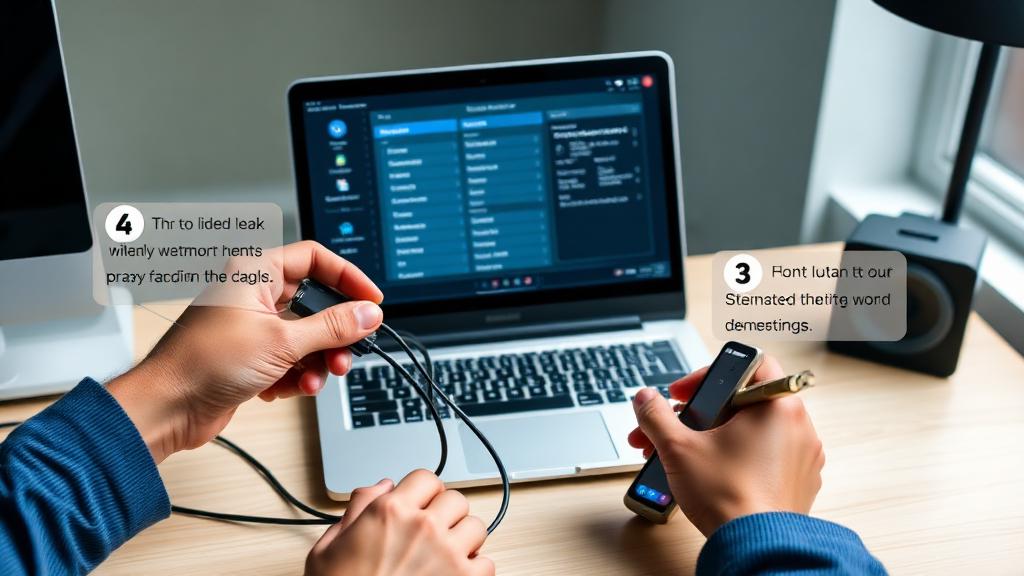
Setting up an AI answering service doesn't require technical expertise. With modern platforms, you can have a professional virtual receptionist handling calls in under 30 minutes.
This tutorial walks you through the process step-by-step, using Rosie.ai as our example (the process is similar for most providers). For a more comprehensive setup guide covering all major services, see our full step-by-step guide. And to train your AI receptionist for 95%+ accuracy after setup, follow our optimization playbook.
Before You Start
Gather these items before beginning:
- Your business phone number (the one customers call) - Login credentials for any software you want to integrate (calendar, CRM) - Basic information about your business hours and services - A credit card for the subscription - 30 minutes of uninterrupted time
You'll also want to think about: - What information should the AI collect from callers? - How should calls be handled outside business hours? - Which calls need immediate human escalation?
Step 1: Create Your Account (5 minutes)
Visit your chosen provider's website and sign up for a free trial or paid account.
1. Enter your email and create a password 2. Verify your email address 3. Complete basic business information: - Business name - Industry - Primary phone number - Time zone
Most providers will assign you a dedicated phone number at this stage. This is the number the AI uses, and you'll forward your existing number to it.
Step 2: Configure Basic Settings (10 minutes)
Now customize how the AI handles calls:
Greeting: Create a professional welcome message. Example: "Thank you for calling [Business Name]. How may I assist you today?"
Business Hours: Set when you're open. The AI can provide different responses outside these hours.
Call Handling Preferences: - Should the AI attempt to schedule appointments? - What information should be collected from new callers? - How should emergency or urgent calls be flagged?
Transfer Settings: Configure when and how calls transfer to humans: - Always transfer certain call types - Transfer if the caller requests a human - Transfer after X failed AI attempts
Don't overthink this step—you can refine settings later based on real call data.
Step 3: Set Up Call Forwarding (5 minutes)
You'll need to forward your existing business number to the new AI number:
For most carriers: 1. Log into your phone provider's admin portal 2. Find "Call Forwarding" settings 3. Enable unconditional forwarding to your new AI number
**Using *72 (works with many carriers)**: 1. From your business phone, dial *72 2. Enter the AI phone number 3. Wait for confirmation tone
VoIP Systems (RingCentral, Vonage, etc.): 1. Access your admin dashboard 2. Navigate to call routing/forwarding 3. Add the AI number as your forwarding destination
Test by calling your business number—you should reach the AI greeting.
Step 4: Connect Integrations (5 minutes)
Most AI services offer one-click integrations with popular tools:
Calendar Integration (Google Calendar, Outlook): 1. Click "Connect Calendar" in settings 2. Authorize access when prompted 3. Select which calendar to use for appointments 4. Set appointment duration and buffer times
CRM Integration (optional): 1. Navigate to integrations section 2. Find your CRM (Salesforce, HubSpot, etc.) 3. Enter API key or authorize OAuth 4. Map AI fields to CRM fields
Notification Setup: 1. Configure how you receive call summaries (email, SMS, Slack) 2. Set up urgent call alerts 3. Enable daily/weekly digest reports
Step 5: Test Everything (5 minutes)
Before going live, verify everything works:
1. Call your number: Experience the AI as a customer would 2. Test appointment booking: Try to schedule a meeting 3. Check integrations: Verify appointments appear in your calendar and CRM 4. Test escalation: Ask to speak to a human and verify the process 5. Try edge cases: Ask unusual questions to see how the AI responds
Common issues to check: - Audio quality is clear - AI understands your business name and common terms - Appointments book in correct time zone - Email summaries arrive promptly
Common Mistakes to Avoid
Learn from others' errors:
Too Many Options: Don't overwhelm the AI with complex decision trees. Start simple.
Ignoring Test Calls: Always test from an outside line, not through the admin portal.
Forgetting Mobile: Test how calls work when you're away from the office.
Skipping Notifications: You need to know about calls. Set up reliable notifications from day one.
Complex Greetings: Keep initial greetings under 10 seconds. Callers want to talk, not listen.
No Human Backup: Always have a path to reach a real person. Some situations require human judgment.
Next Steps After Setup
Congratulations—you have a working AI receptionist! Here's what to do next:
Week 1: Monitor every call closely. Review transcripts daily and note any issues.
Week 2: Refine responses based on actual caller questions. Add custom responses for frequently asked questions.
Week 3: Optimize scheduling and qualification flows based on conversion data.
Month 1: Analyze call patterns and adjust AI behavior accordingly. Consider adding features like outbound appointment reminders.
Ongoing: Schedule monthly reviews to ensure the AI continues meeting your needs as your business evolves.
Related Articles

AI Answering Service ROI Calculator: What Missed Calls Actually Cost You (2026)
62% of calls to small businesses go unanswered. 80% of callers who reach voicemail won't leave a message. Calculate what missed calls cost YOUR business.
How to Set Up an AI Answering Service: Complete Step-by-Step Guide (2026)
Setting up an AI answering service takes under 90 minutes. This guide walks through every step from choosing a service to going live.

How JENA's AI Coach and Receptionist Are Empowering Solo Beauty and Wellness Professionals
Discover how JENA's AI-powered tools help independent beauty and wellness professionals automate bookings, handle client enquiries, and grow their businesses.